What is a shear stud for?
Why Composite?
The increased performance of composite beams, in stiffness and bending resistance, allows the construction of longer spans and shallower floors when compared to non-composite methods. This could allow smaller storey heights, more floors for the same building height, more flexible column free areas and increased opportunities for services.
What is a shear stud for?
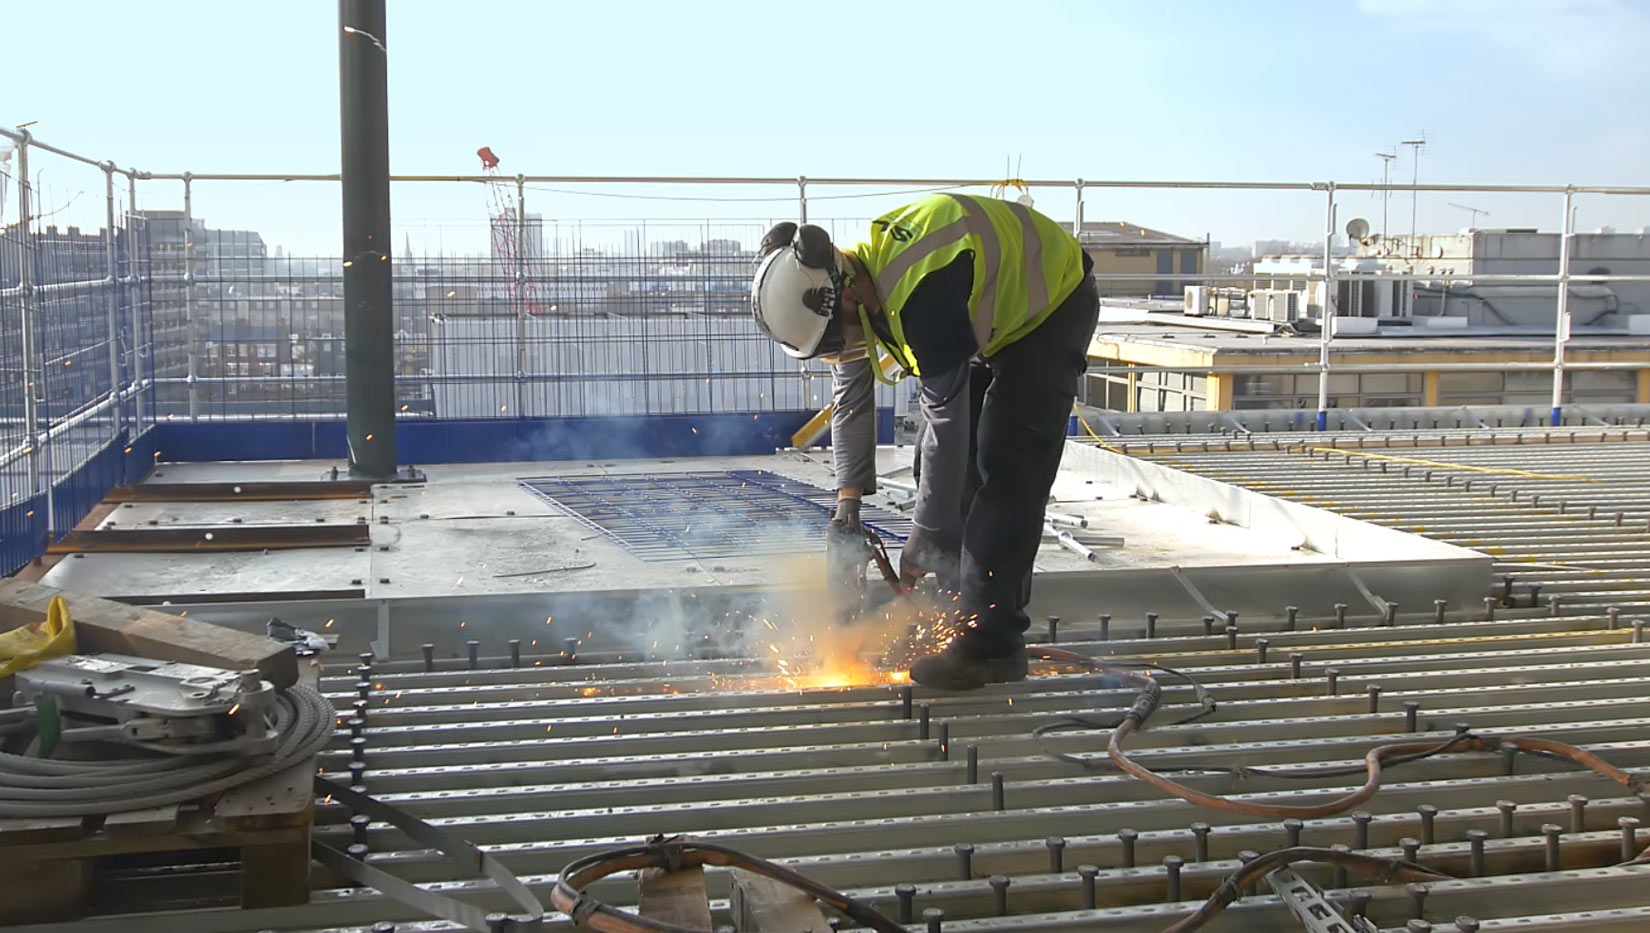
Composite beams are typically hot rolled steel sections that act compositely with a slab. Shear studs are required to transfer force between the steel section and the concrete slab. The studs are welded to the beam, normally through the deck sheet. This enables the concrete slab to act like a large top flange to the composite beam when the concrete has hardened and creates a stronger section to support the loadings applied to the finished slab.
Steel designers design the steel frame to approved design standards (the latest being Eurocode 4). These design standards have formulae to calculate the amount of force that can be transferred by each shear stud. When designing the composite beams, the steel designer will calculate how many studs are needed for the beam design based on these values.
Shear stud configuration design rules
The values used by the steel designer for shear stud strength rely on a concrete ‘cone of failure’ around the stud (see photo below) and the studs being spaced to the design rules stated.

There are a number of rules and recommendations from approved design standards and industry best practice which specify spacings, dimensions and layout of studs in order to achieve the required stud resistance. Below is a selection of the most common examples.
When installing shear studs, the length after weld should extend at least 35mm above the top of the main rib of the deck profile. Therefore, the minimum length after weld (LAW) should be 95mm for the TR60+ or R51 and 115mm for TR80+.

Minimum distance from deck rib = 25mm
The recommended minimum concrete cover to the top of the stud is 15mm, this should be increased to 20mm if the shear stud is to be protected against corrosion.
Minimum Flange Thickness to prevent localised bending of the flange at ultimate loading and minimise the chance of weld blow-through = 0.4 x diameter of shear stud = 7.6mm for a standard 19mm stud.
Minimum distance from edge of beam = 30mm

Minimum spacing

Single studs to be located on CL beam except at butt joint where studs should be staggered in line with typical details – minimum spacings as indicated in BS5950-4 and Eurocode 4.

Only achievable on beam flanges > 133mm

Minimum Spacing: Staggered studs
Single studs in a staggered pattern – to be utilised at all butt joints

Methods for determining the resistance of shear studs in solid concrete are outlined in BS EN 1994-1-1 and BS5950-3 Section 3.1:1990 +A1 2010. When used in composite decked slabs, these solid slab stud resistances may need to be reduced due to the decking geometry and/or orientation.
The table below indicates the stud reduction factors for SMD profiles calculated in accordance with latest SCI Publication P405 and NCCI document PN001a-GB: Resistance of headed stud shear connectors in transverse sheeting. kmod (modification factor from Table 2.1 of PN001a) is already applied to TR+ values where appropriate. The factors in this table should be applied to the minimum resistance for a stud in a solid slab from equations (6.18) and (6.19) of BS EN 1994-1-1.

- Figures are based on 95mm LAW shear studs except TR80+ which is based on 120mm LAW.
- All factors are based on ‘mesh at nominal top cover’, except Parallel which is based on ‘below head of stud’
Practical implications during installation
From an installation perspective, a clear height of 450mm + stud length (before weld is required), normally a dimension of 570mm. Overhead obstructions can include steps in level, beams, overhanging slabs, cladding or services.

For all sections to receive welded studs, the top surface must be free of contaminants, paint and rust. Poor connection between studs and beam due to paint contaminants, mean that the weld cannot be concentrated into a localised area inside the ferrule resulting in an erratic weld patter and ultimately a failure of the stud. If the underside of the top flange is painted, then welding can cause blistering which will require remedial work for aesthetic reasons (or safety reasons if intumescent paint has been used). It is also important to note that galvanised sections cannot be welded to.
In summary: studs and spacings should be specified by the engineer and installed ensuring that these are adhered to.


